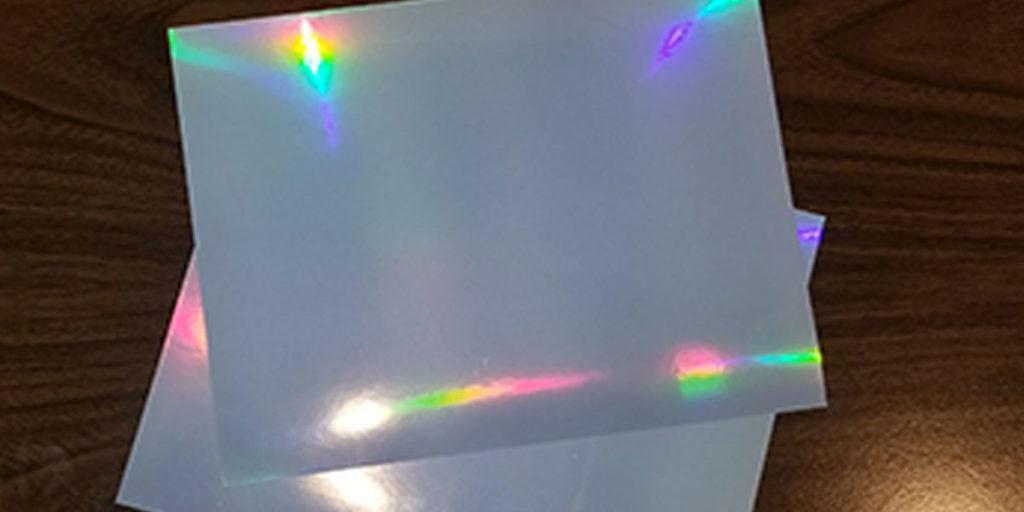
Even the most basic color printers can print on foil sticker paper and yield beautiful results. For instance, I am using an HP printer that is like 7 years old and get great results. I mainly print foil labels for my Mass MTG Tokens and occasionally for my own homemade alters. If you can configure your printer’s setting correctly, you should have no problem getting high quality prints.
Table of Contents
This post contains affiliate links, which means I may receive a small commission, at zero cost to you, if you make a purchase through a link.
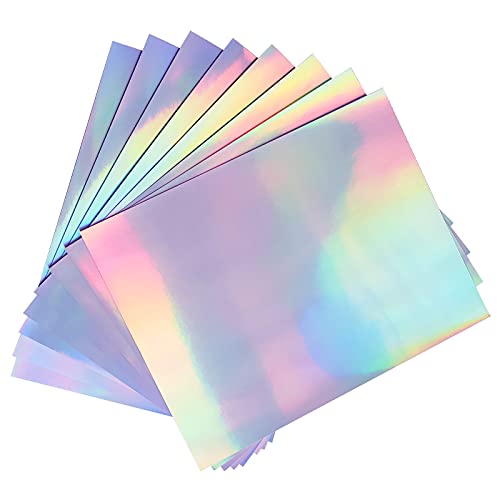
This is the first foil sticker paper I used and it ended up giving me great results on the first print. I haven’t tried any other foil sticker paper since this worked out so well. The bundle came with 20 sheets and I went through that pretty quick. Therefore, I ended up getting another bundle, and the second batch was just as high quality as the first. All-in-all, this foil sticker paper has not let me down, nor has my aging printer.
There are a few different quantity options for the Rainbow Foil sticker paper. There is a 20 sheet option, and 30 sheet option and a 50 sheet option. In terms of the paper’s size, it is the same size as a regular sheet of printer paper.
Interestingly, the same company also has some other foil sticker paper variations that contain designs on them. For example, there is a diamond plate design, a star design, a spiral design, etc. I really like the look of the star design one.
Printer Settings to Print on Foil Sticker Paper
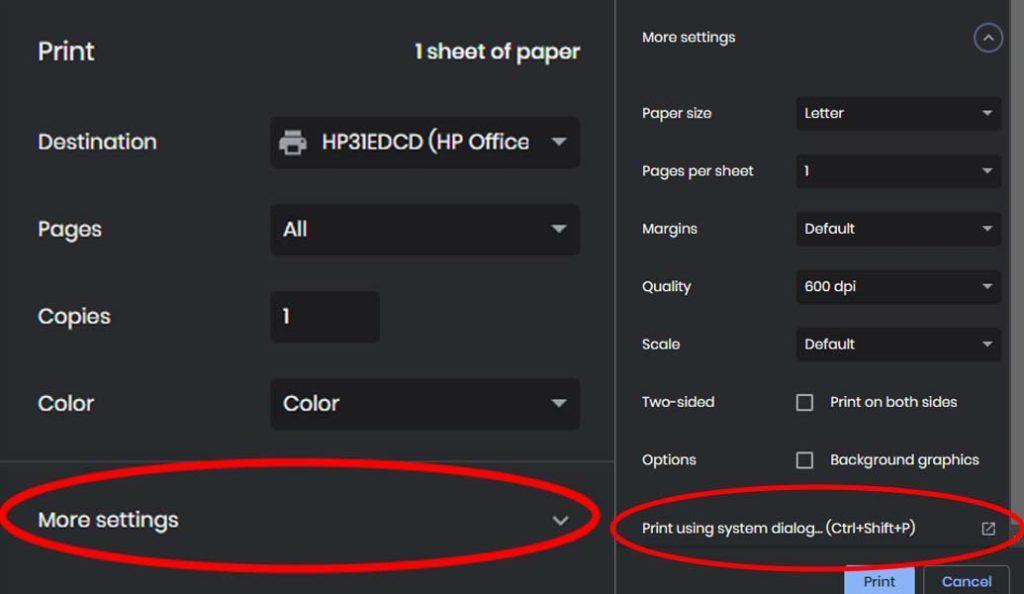
When I print, once I have my document or image ready, I use the system print menu. Many applications, such as text editors, browsers, pdf viewers, etc. will have their own printing menus. Usually, I just skip those menus and use Windows built in menu.
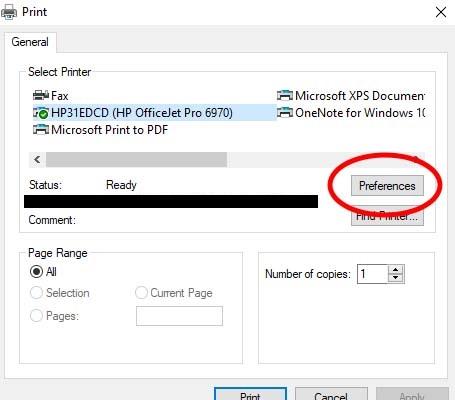
The only option need here is the Preferences button. From there, you will probably see your Printer’s custom option screen. For example, when I click on Preferences, I get the HP Menu. While on this menu, I turn on the borderless printing option, set the paper type to Photo Paper and set the print quality to best.
My printer also has an Advanced section within the preferences. If yours does as well, look for an option related Printing Max DPI. Make sure that is turned on. Once all the settings have been set, click on the Apply button.
After applying the settings, load your holographic sticker paper into the printer. After that, hit print and wait about 3 minutes for print to complete. Let it dry for another 5 minutes and it is done. With any luck, the print will come out looking shiny, clear and colorful.
Print on Foil Sticker Paper – Mass MTG Token Labels
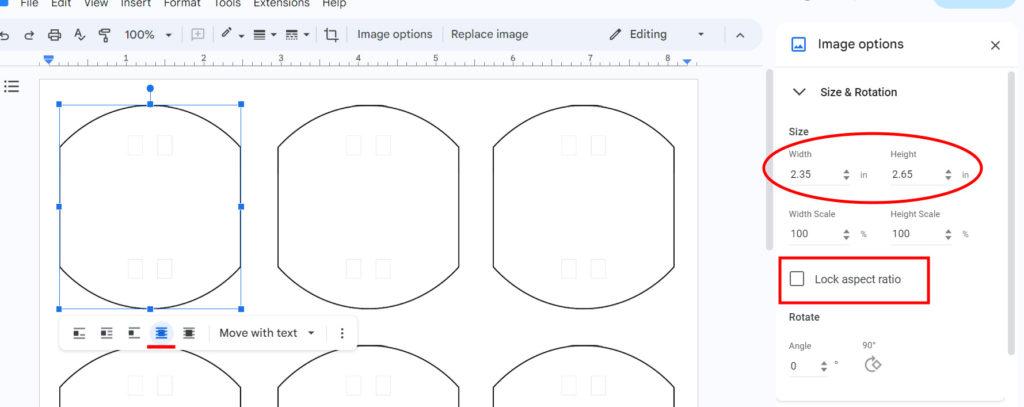
To print on foil sticker paper for my Mass MTG Tokens labels, I like to use Google Docs. I load in my Mass MTG Token labels and size them accordingly. From my testing, sizing each label at 2.35 inches wide and 2.65 inches tall works best. However, your mileage may very depending on your Printer and whatnot. I can easily fit 9 labels per sheet of holographic sticker paper.
Be sure to enable Image Options (in the menu bar above the middle label on the top row, to left of Editing and Replace Image) and deselect Lock Aspect Ratio. This will allow you to get a precise fit for your labels.
In order to move the label freely on the page, you will need to select the Move Within Text icon highlighted in the image. Now you can size your images accurately and position your labels in rows and columns to get the most out of each sheet of foil sticker paper.
After you have filled up your page, print it out, cut them all out, and build some Mass MTG Tokens!
You May Also Enjoy


Leave a Reply